Set Up Billing
Billing connects your plans to a payment provider so customers can pay for subscriptions. GrabWP WaaS supports Polar (primary) and WooCommerce (alternative).
This guide covers Polar. For WooCommerce, see WooCommerce Billing.
Navigate to WaaS → Settings → Billing (/wp-admin/admin.php?page=grabwp-tenancy-waas-settings&tab=billing).
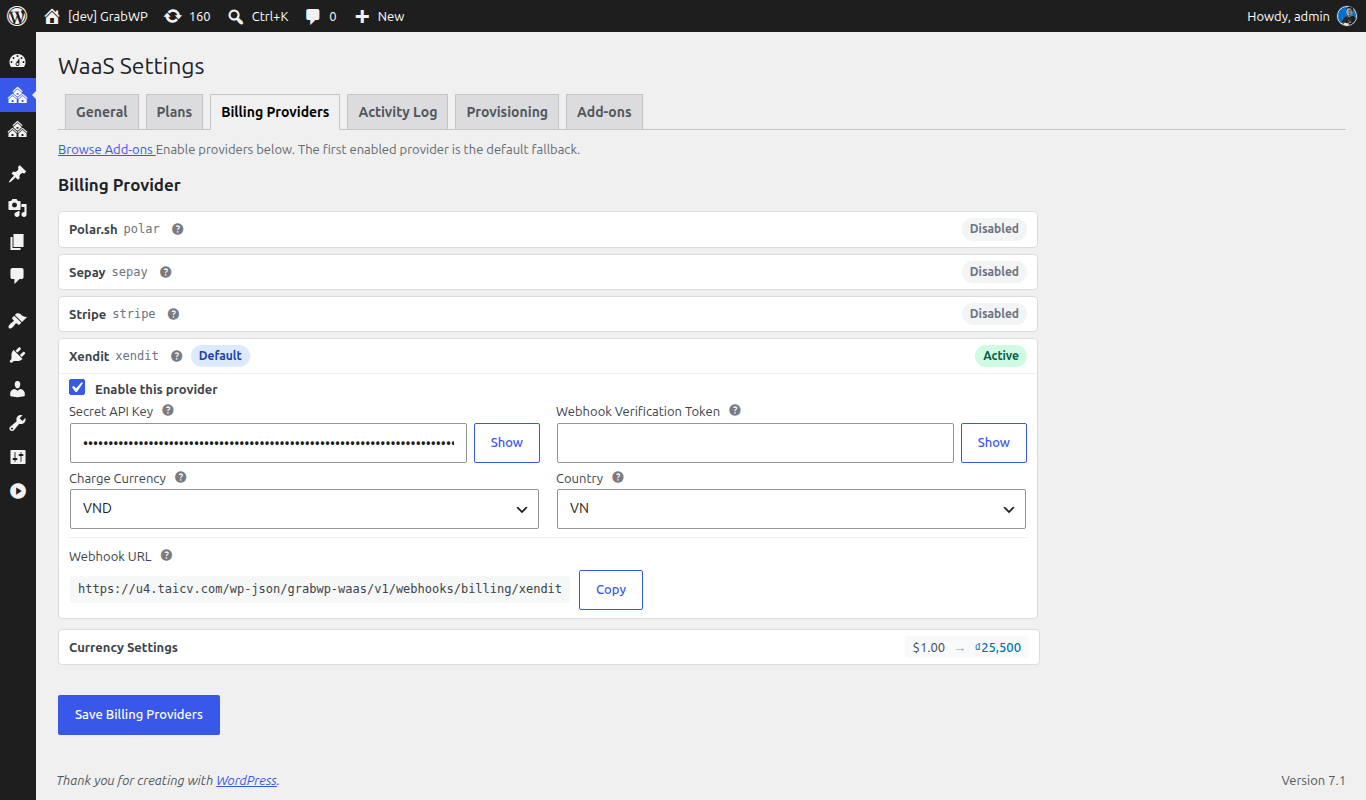
Currency Settings
Above the provider cards, the Currency Settings section controls how plan prices are stored, displayed, and converted when a billing provider needs a different currency.
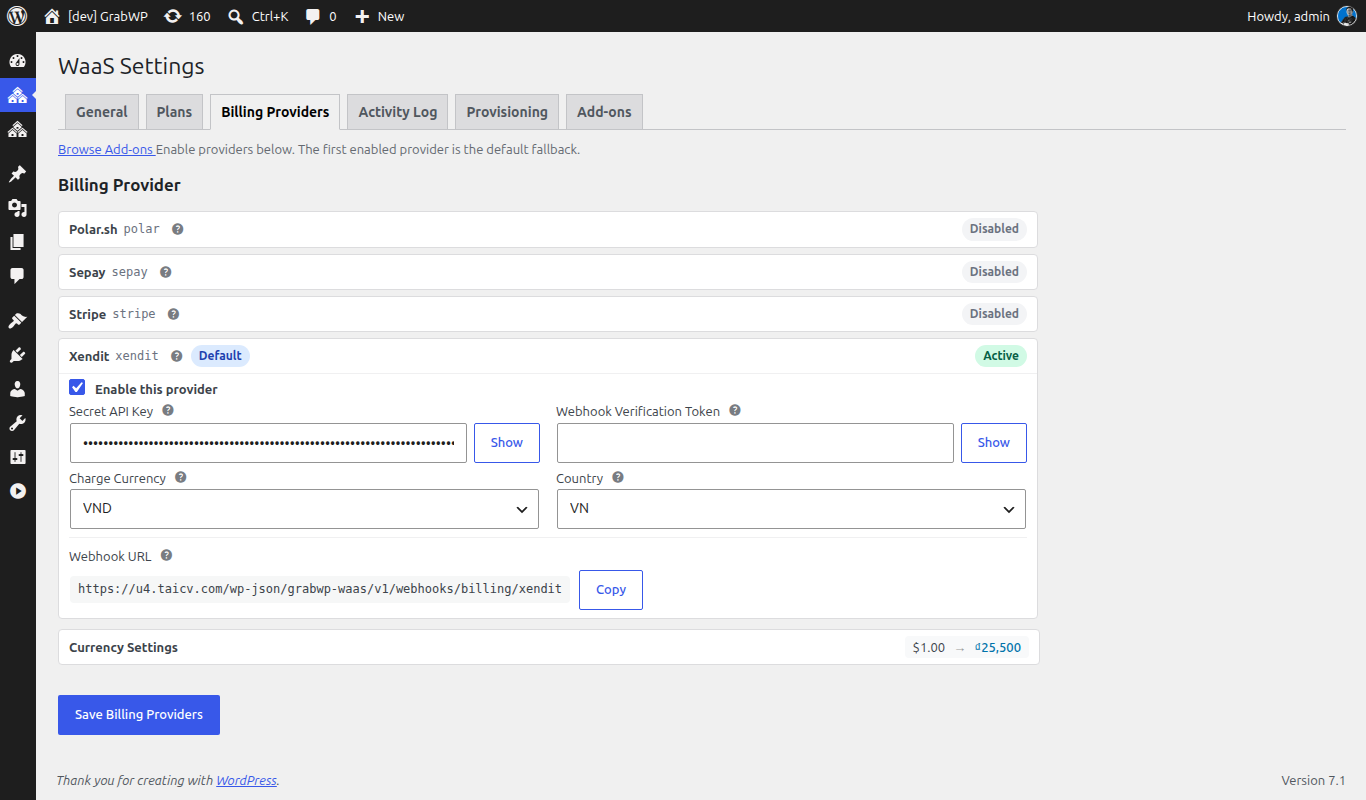
| Field | Description |
|---|---|
| Primary Currency | The currency shown to customers on pricing pages and invoices. Plan prices are stored in this currency. Default: USD. |
| Secondary Currency | Optional. Set this when a billing provider requires a different currency than primary (e.g. Sepay requires VND). Choose None (single currency) for a single-currency site. |
| Exchange Rate | How many secondary units equal 1 primary unit. WaaS applies this rate before charging providers that require the secondary currency (e.g. Sepay). Polar and Stripe charge in their own catalog currency and do not use this rate for the charged amount. |
| Currency Position | Display formatting: Left ($99.99), Left with space, Right, or Right with space. |
| Decimal Separator | Character used between whole and fractional amounts. |
| Thousand Separator | Character used to group thousands. |
Tip: Leave Secondary Currency as None (single currency) for single-currency mode (no conversion). When a secondary currency is set, plan and template prices stored in the primary currency are converted to the provider's charge currency before Polar combo/one-time products are created, and the converted currency is recorded so renewals charge the correct amount. If a target currency falls outside the configured pair, conversion returns an error instead of silently charging an unconverted amount. A provider that requires a specific currency (e.g. Sepay requires VND) is blocked at save time unless that currency is set as primary or secondary.
Step 1: Create a Polar Account
- Go to polar.sh and create an account
- Create an Organization if you don't have one
- Note your organization dashboard URL - you'll need it
Step 2: Create Products in Polar
For each paid plan, create a matching product in Polar.
- In Polar dashboard, go to Products
- Click Create Product
- Set up your product:
| Field | Value |
|---|---|
| Name | Same as your plan name (e.g., "Pro Monthly") |
| Type | Subscription |
| Price | Must match your plan price (e.g., $9.99/month) |
| Billing Interval | Monthly (or Yearly for yearly products) |
- After creating the product, copy its Product ID (UUID) from the product settings page
Create separate products for monthly and yearly billing. For example: "Pro Monthly" ($9.99/month) and "Pro Yearly" ($99.99/year).
Step 3: Configure Polar in WaaS
On the Billing Providers tab:
- Find the Polar provider card
- Check Enable this provider
- Fill in:
| Field | Description |
|---|---|
| API URL | https://api.polar.sh (production) or https://sandbox-api.polar.sh (testing) |
| Access Token | Your Polar API token - generate in Polar → Settings → API |
| Webhook Secret | Secret string to verify webhook authenticity |
- Click Save Settings
Step 4: Set Up Webhook
WaaS needs to receive payment events from Polar to activate subscriptions.
- In Polar dashboard, go to Webhooks
- Click Add Endpoint
- Set the URL to:
https://yoursaas.com/wp-json/grabwp-waas/v1/webhooks/billing/polar
- Select events to send:
subscription.createdsubscription.updatedsubscription.canceledorder.created
- Copy the Webhook Secret and paste it into WaaS → Settings → Billing → Polar → Webhook Secret
- Save both Polar and WaaS settings
Test webhooks: Use the Polar dashboard → Webhooks → Delivery log to verify events are being received. Check WaaS → Settings → Billing → "Last webhook received" timestamp.
Step 5: Link Products to Plans
Go back to WaaS → Settings → Plans and edit your paid plan:
- Paste the Polar Monthly Product ID into the matching field
- Paste the Polar Yearly Product ID if you created a yearly product
- Save the plan
Step 6: Test a Payment
Before going live, test the full payment flow:
- Set Polar API URL to the sandbox endpoint:
https://sandbox-api.polar.sh - Create sandbox products in the Polar sandbox dashboard
- Go through the signup flow on your site, select the paid plan
- Complete payment using Polar's sandbox test cards
- Verify the tenant site is provisioned and subscription is active in WaaS → Subscriptions
Once verified, switch back to the production API URL and production products.
Next: Set Up Templates