Clone a site
Short answer: click the Clone Tenant icon on a site's row in Tenancy > All Tenants, pick a target site (or create a new one), and click Clone Tenant. The target gets a copy of the source's content and uploads, with its addresses updated. Everything that was on the target before is replaced.
Needs: Free (Pro adds plugins and themes, other database types and S3 storage)
How it works
Cloning copies the source site's database and uploads into a target site, then rewrites the stored addresses so they point at the target. After that the two sites are separate: later edits on one do not change the other.
Use it to start a new client site from a finished one, or to make a test copy before a big change.
| Free | Pro | |
|---|---|---|
| Copies database and uploads | Yes | Yes |
| Links or copies the source's own plugins and themes | No | Yes |
| Source and target on different database types (shared MySQL, isolated MySQL, SQLite) | No, shared database only | Yes |
| Converts files when the source and target use different storage (local or S3) | No | Yes |
| Steps | 6 | 7 |
Open Clone
Open Tenancy > All Tenants and click the Clone Tenant icon on the source row. With Pro you can also use the Clone tab on a site.
To clone your main site, use the clone icon on the starred Main Site row (named Clone to Tenant with Pro). The page title is then Clone Main Site. For any other source it is Clone Tenant: plus the site ID.
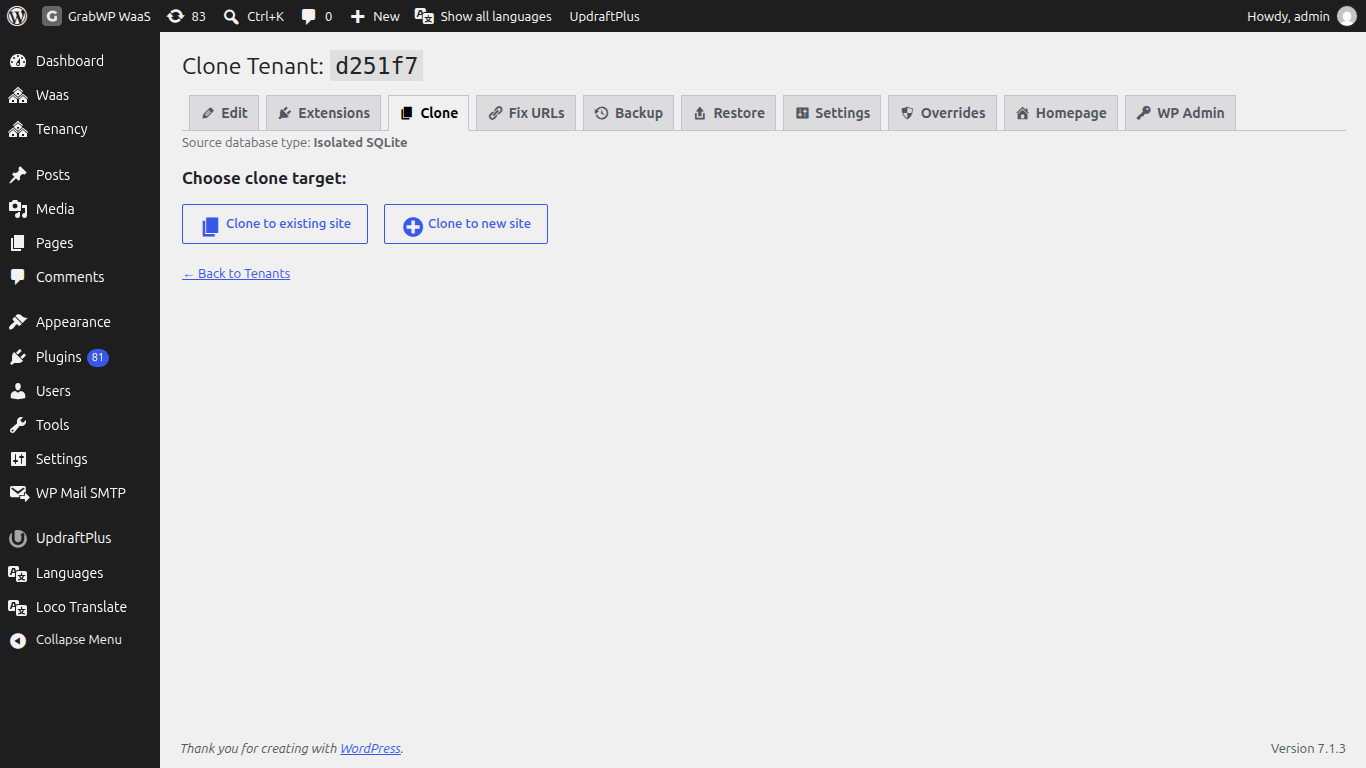
The page shows Source database type: (Shared MySQL, Isolated MySQL or Isolated SQLite).
Clone into a site
Under Choose clone target:
| Choice | What happens |
|---|---|
| Clone to existing site | Pick the Target Tenant from the list. The summary shows its Tenant ID, Domains, Database Type and Uploads. If no site qualifies the list says No eligible tenants found. |
| Clone to new site | You go to Add New Tenant with a note that you will be redirected to clone the source into the new site. Fill in the form and click Create Tenant & Clone. |
The page warns: This will overwrite all data in the target tenant (database, uploads, extensions). This action cannot be undone. On Free the list in brackets is database and uploads.
- Choose the target.
- Click Clone Tenant and confirm
Are you sure? All data in the target tenant will be overwritten. - Keep the browser tab open while the steps run.
| Step | What happens |
|---|---|
| Validating source & target tenants | Checks both sites. |
| Exporting source database | Exports the source content. |
| Importing database into target tenant | Imports into the target. With Pro this works across database types. |
| Symlinking extensions (Pro only) | Links the source's own plugins and themes into the target. |
| Updating site URLs | Rewrites stored addresses to the target's address. |
| Copying uploads | Copies media files. With Pro, files are converted when the storage driver differs. |
| Cleaning up | Removes temporary files. |
When it finishes you see Clone complete! and The source tenant data has been cloned into the target tenant. with links to Edit tenant, Homepage and Dashboard.
Cancel or Back to Tenants leaves without cloning.
After cloning
- Open Homepage and check the theme, plugins and content.
- The target keeps its own ID and domains.
- If images or links still point at the source address, run Fix URLs on the target (Pro).
- With Pro and S3 storage, copying a large media library can finish in the background after the screen says it is done. This uses a scheduled job, so WP-Cron or a server cron must be running. See Scheduled jobs and server cron.
Limits
- You cannot clone a site into itself.
- Third-party premium plugins may ask for their license key again on the copy. That depends on the plugin vendor's terms.
:::info If you sell sites WaaS builds each new customer site by cloning one of your templates, so the same rules apply: the template's content, plugins and themes are what the customer starts with. See Templates. :::