Managing Custom Domains
Custom domains let your customers use their own domain (e.g., mybusiness.com) instead of a subdomain (mybusiness.yoursaas.com). GrabWP WaaS supports two methods.
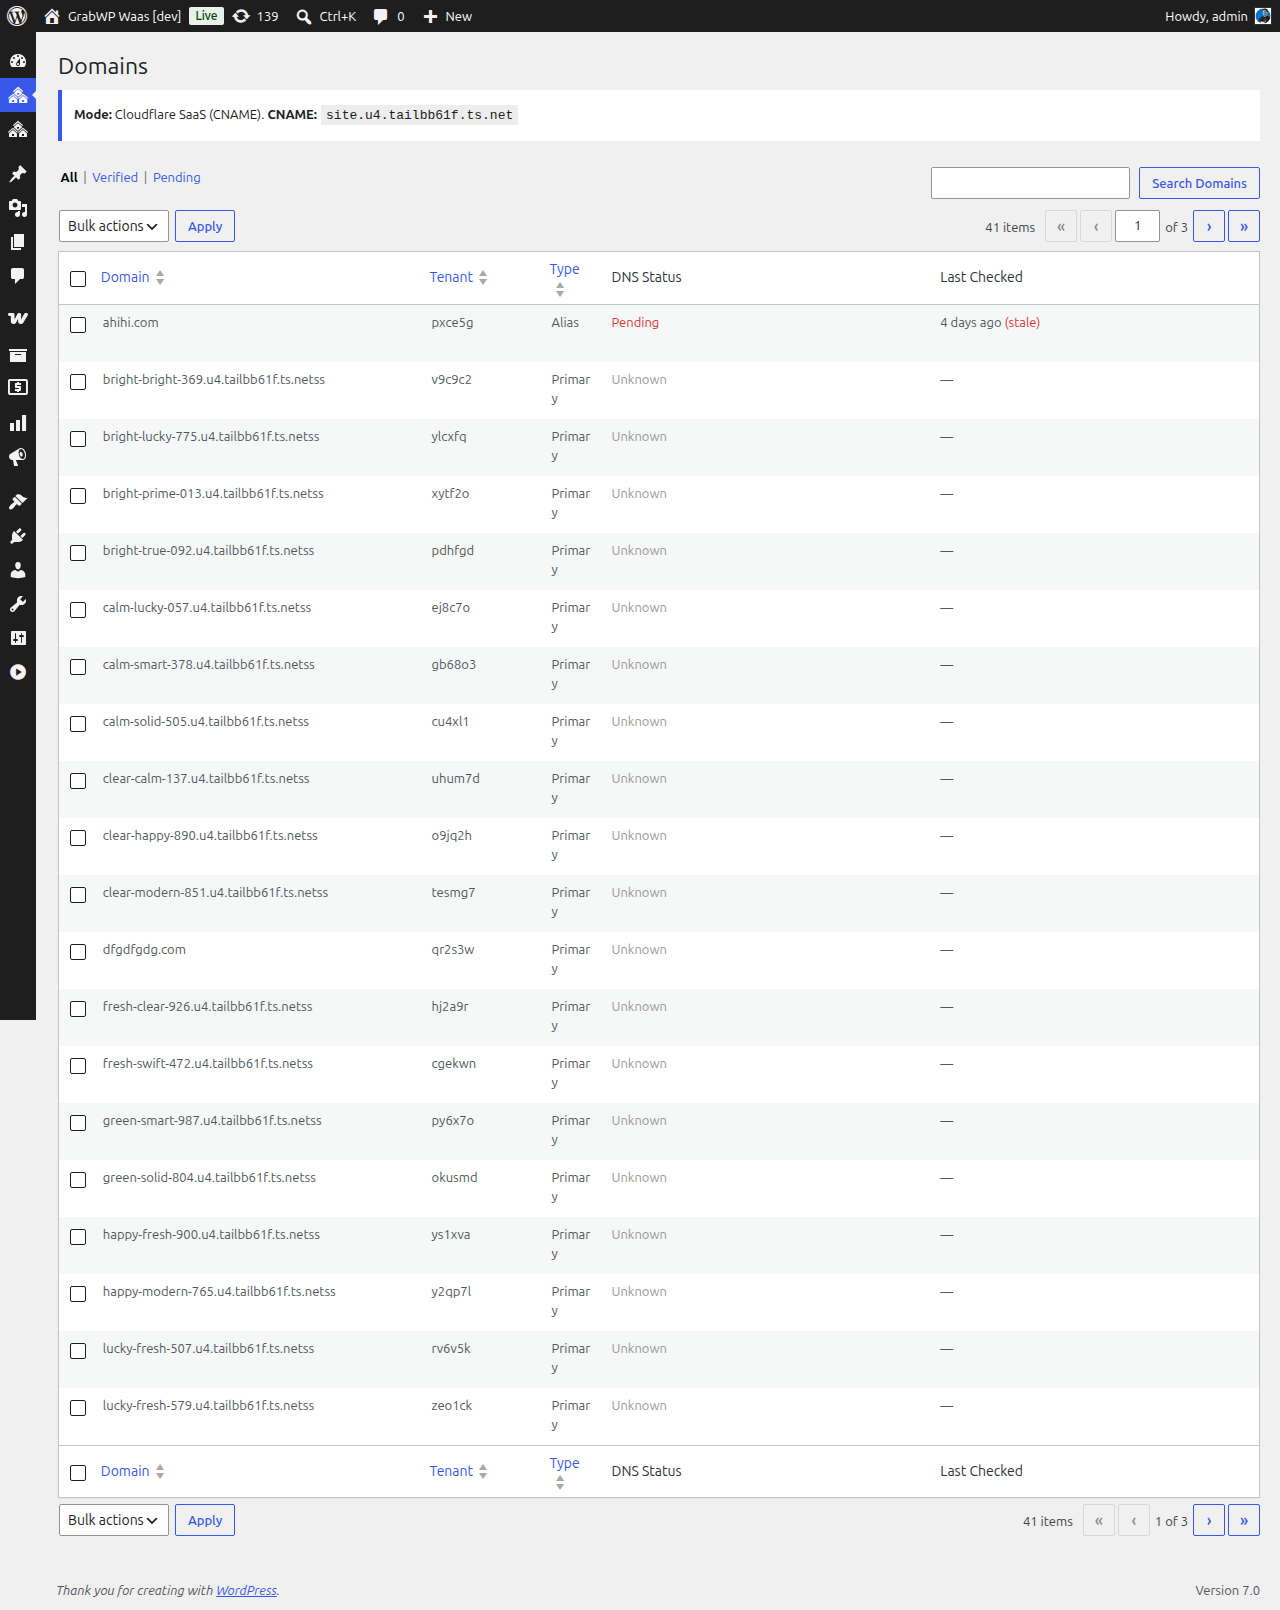
Navigate to WaaS → Domains (/wp-admin/admin.php?page=grabwp-tenancy-waas-domains).
Domain Modes
Configure the mode in WaaS → Settings → General → Custom Domains.
| Mode | How it works | Best for |
|---|---|---|
| Cloudflare SaaS | Customer adds a CNAME record to your fallback origin. Cloudflare handles SSL and routing. | Production platforms, automatic SSL, scalable |
| Direct IP | Customer adds an A record to your server IP. You configure the domain on your server. | Simple setups, non-Cloudflare hosting |
Cloudflare SaaS Custom Hostnames
This is the recommended approach for production. Cloudflare handles SSL certificates automatically for every custom domain.
One-Time Setup (Your Side)
- Add your domain to Cloudflare (if not already)
- Enable Cloudflare for SaaS on your zone:
- Contact Cloudflare support or use the dashboard → SSL/TLS → Custom Hostnames
- This feature may require a paid Cloudflare plan
- Set a fallback origin:
- In Cloudflare dashboard → SSL/TLS → Custom Hostnames → Add Fallback Origin
- Set it to your platform subdomain (e.g.,
cdn.saas.yoursaas.com) - Create a DNS A record for this subdomain pointing to your server
- Configure in WaaS:
- Go to WaaS → Settings → General → Custom Domains
- Set Domain Mode to Cloudflare SaaS
- Enter your CNAME Target (e.g.,
cdn.saas.yoursaas.com)
Cloudflare docs: Cloudflare for SaaS — covers setup, SSL, and API automation.
Per-Customer Flow
When a customer wants to use their own domain:
-
Customer side: Add a CNAME record in their DNS:
mybusiness.com → CNAME → cdn.saas.yoursaas.com -
Your side (admin): Add the domain in WaaS → Domains or the customer can add it via the tenant dashboard:
- Click Add Domain
- Enter the custom domain
- Click Verify — checks DNS propagation
-
Cloudflare automatically provisions an SSL certificate for the custom domain
-
The tenant site is now accessible at
mybusiness.com
Customer Instructions Template
Share this with your customers when they request a custom domain:
To connect your domain:
- Log in to your domain registrar (GoDaddy, Namecheap, etc.)
- Go to DNS settings
- Add a CNAME record:
- Name/Host:
@orwww(or your subdomain)- Value/Target:
cdn.saas.yoursaas.com- TTL: Automatic or 300
- Wait 5-10 minutes for DNS propagation
- Go to your Dashboard → Domains → Add Domain
- Enter your domain and click Verify
Direct IP Mode
Simpler but requires manual server configuration for each domain.
Setup
-
In WaaS → Settings → General → Custom Domains:
- Set Domain Mode to Direct IP
- Enter your Server Public IP
-
For each custom domain, you need to:
- Add a server block (Nginx) or virtual host (Apache) for the domain
- Point it to your WordPress installation
- Set up SSL (e.g., via Let's Encrypt / Certbot)
Per-Customer Flow
-
Customer: Add an A record in their DNS:
mybusiness.com → A → 203.0.113.50 -
You: Add the domain to your web server config:
Nginx example:
server {listen 80;server_name mybusiness.com;# ... same config as your main site}Then run Certbot for SSL:
sudo certbot --nginx -d mybusiness.com -
Admin panel: Add and verify the domain in WaaS → Domains
Note: Direct IP requires manual server work per domain. Cloudflare SaaS is recommended if you expect many custom domains.
Domain Management from Tenant Dashboard
Customers can also manage domains from their tenant dashboard (your /dashboard/ page):
- Add Domain — enter a custom domain
- Verify — check DNS propagation
- Set Primary — make a domain the primary URL for their site
- Remove — disconnect a custom domain
Domain Verification
After adding a domain, verification checks:
- DNS record exists and points correctly (CNAME or A record)
- Domain resolves to your server
- SSL is working (for Cloudflare SaaS, this is automatic)
Verification can take a few minutes depending on DNS propagation.
Next: Managing Subscriptions