Set Up Templates
Templates are pre-built site designs that customers choose during signup. Each template is a snapshot of an existing tenant site — theme, content, settings, and all.
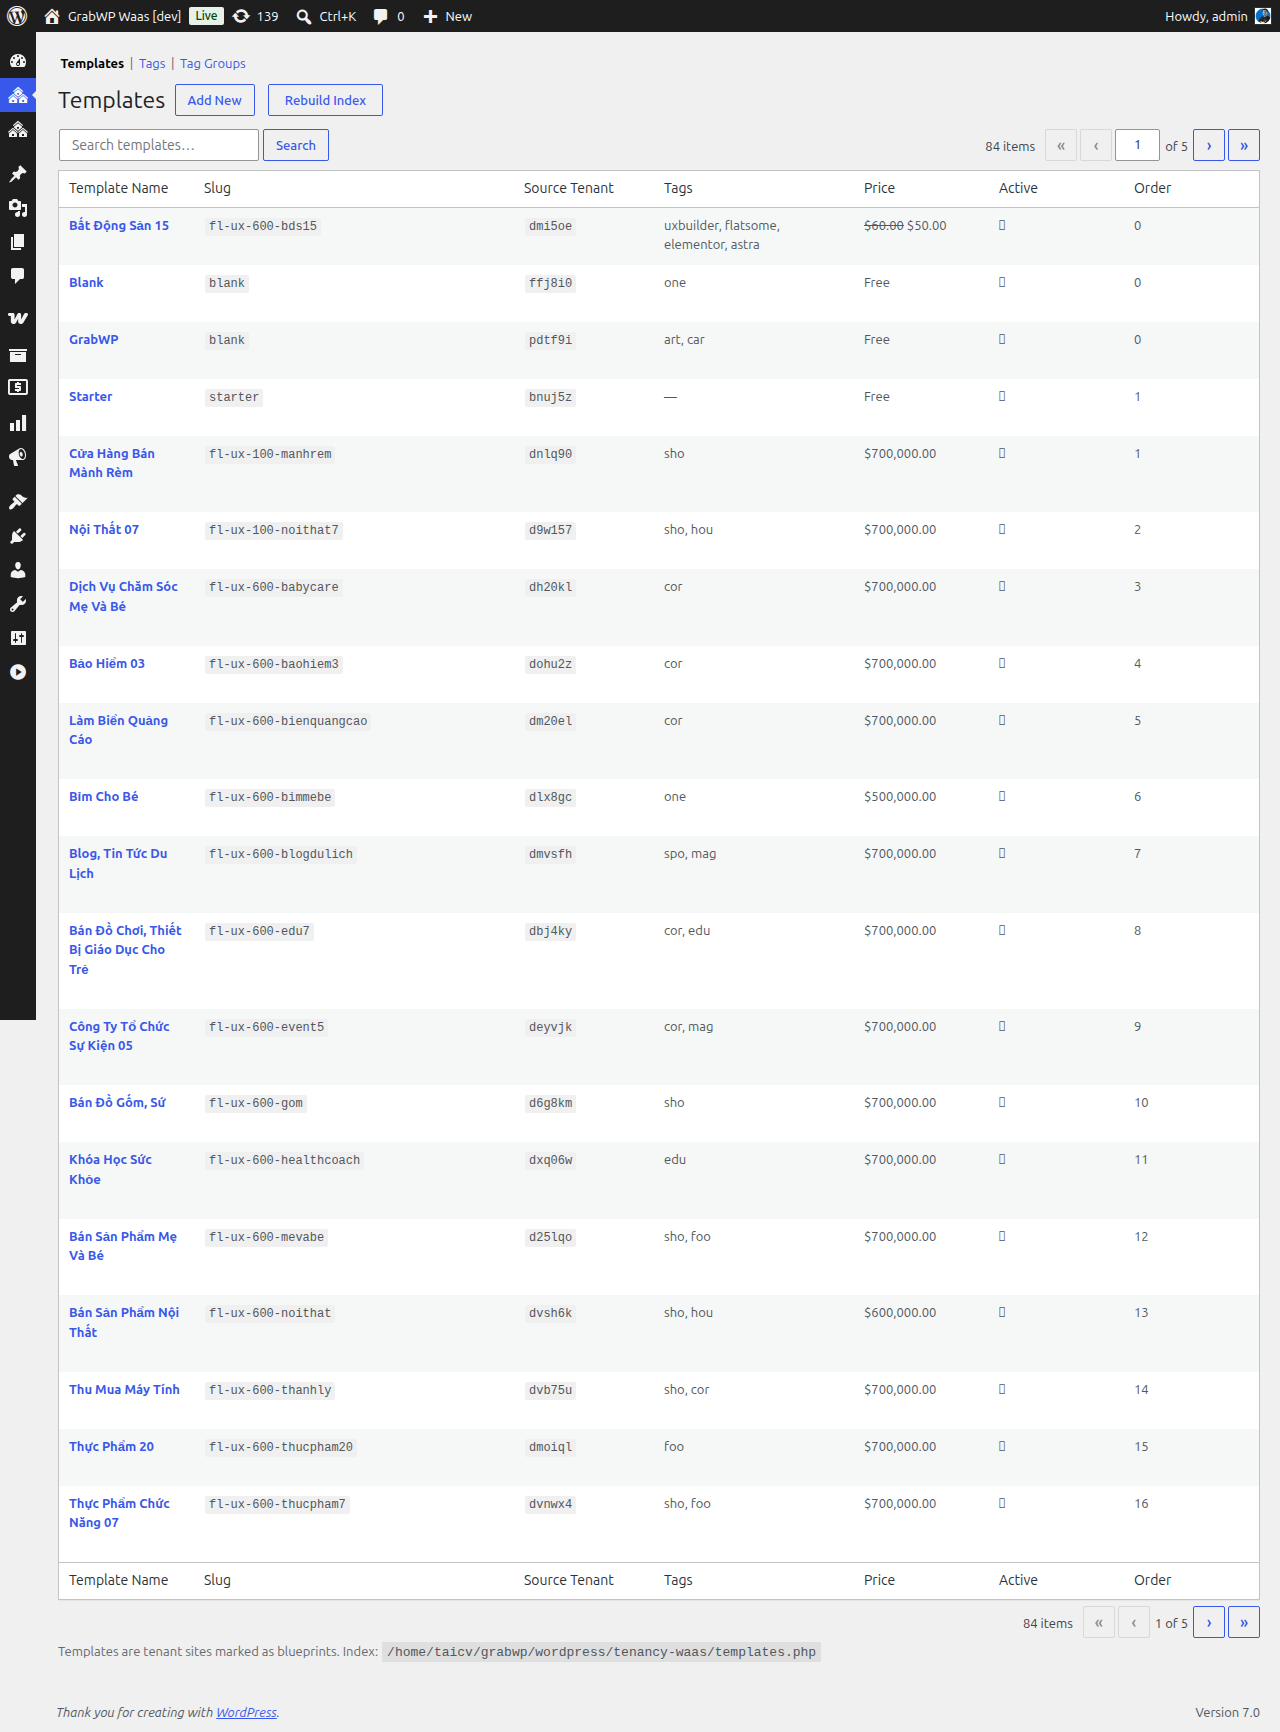
Navigate to WaaS → Templates (/wp-admin/admin.php?page=grabwp-tenancy-waas-templates).
How Templates Work
1. You create a tenant site and design it
2. You register that tenant as a template
3. Customers browse templates during signup
4. When a customer signs up, their new site is cloned from the template
Templates are stored as references to existing tenant sites, not as separate copies. The template's tenant must remain active.
Step 1: Create a Tenant for Your Template
Before creating a template, you need a tenant site to use as the source.
- Go to Tenancy → Add New
- Create a new tenant (e.g., slug:
template-starter, domain:template-starter.yoursaas.com) - Access the tenant's WordPress admin and design the site:
- Install and configure a theme
- Add demo content (pages, posts, media)
- Set up menus, widgets, and site identity
- Configure any plugins you want included
Tip: Spend time making this site look polished — every customer who picks this template starts with an exact copy.
Step 2: Create a Template
- Go to WaaS → Templates
- Click Add New Template

Fill in:
| Field | Value | Notes |
|---|---|---|
| Source Tenant | Select the tenant you designed | Only shown when creating, not editable after |
| Template Name | Starter Blog | Display name in the template gallery |
| Slug | starter-blog | URL-safe identifier. Lowercase letters, numbers, hyphens only. |
| Tags | Select or type tags | For filtering in the gallery. See tags setup below. |
| Allowed Plans | Leave unchecked for all plans | Check specific plans to restrict this template to paid users only |
| Price | 0 | Optional — charge extra for premium templates |
| Active | Checked | Template appears in the gallery |
- Upload a Thumbnail — a screenshot or mockup of the template. Recommended size: 1280×960px.
- Optionally add a Preview URL — a live link customers can click to see the template in action.
- Click Save Template
Setting Up Tags
Tags let customers filter the template gallery by category, industry, or feature.
Create Tag Groups
- Go to WaaS → Settings → Tags
- Click Add Tag Group
- Create groups such as:
industry— Restaurant, Portfolio, Blog, E-commercebuilder— Elementor, Gutenberg, Beaver Builderfeature— WooCommerce, Multilingual, Membership
Create Tags
Within each group, create individual tags:
- Click Add Tag inside a group
- Set the Name (display) and Slug (URL-safe identifier)
- Save
Assign Tags to Templates
When editing a template, select tags from the dropdown. Templates can have tags from multiple groups.
Controlling Gallery Filters
The template browser shortcode controls which tag groups appear as filter pills vs. dropdowns. See Shortcode Reference for all options.
Template Cloning Process
When a customer selects a template and completes signup, WaaS clones the template tenant:
- Validate — check source tenant is healthy
- Export — export source tenant database
- Import — import into new tenant database
- Copy uploads — copy media files
- Symlink extensions — link plugins and themes
- Fix URLs — update all URLs to the new tenant domain
- Cleanup — finalize and activate
This process typically takes 10–30 seconds depending on template size.
Next: Set Up Frontend Pages